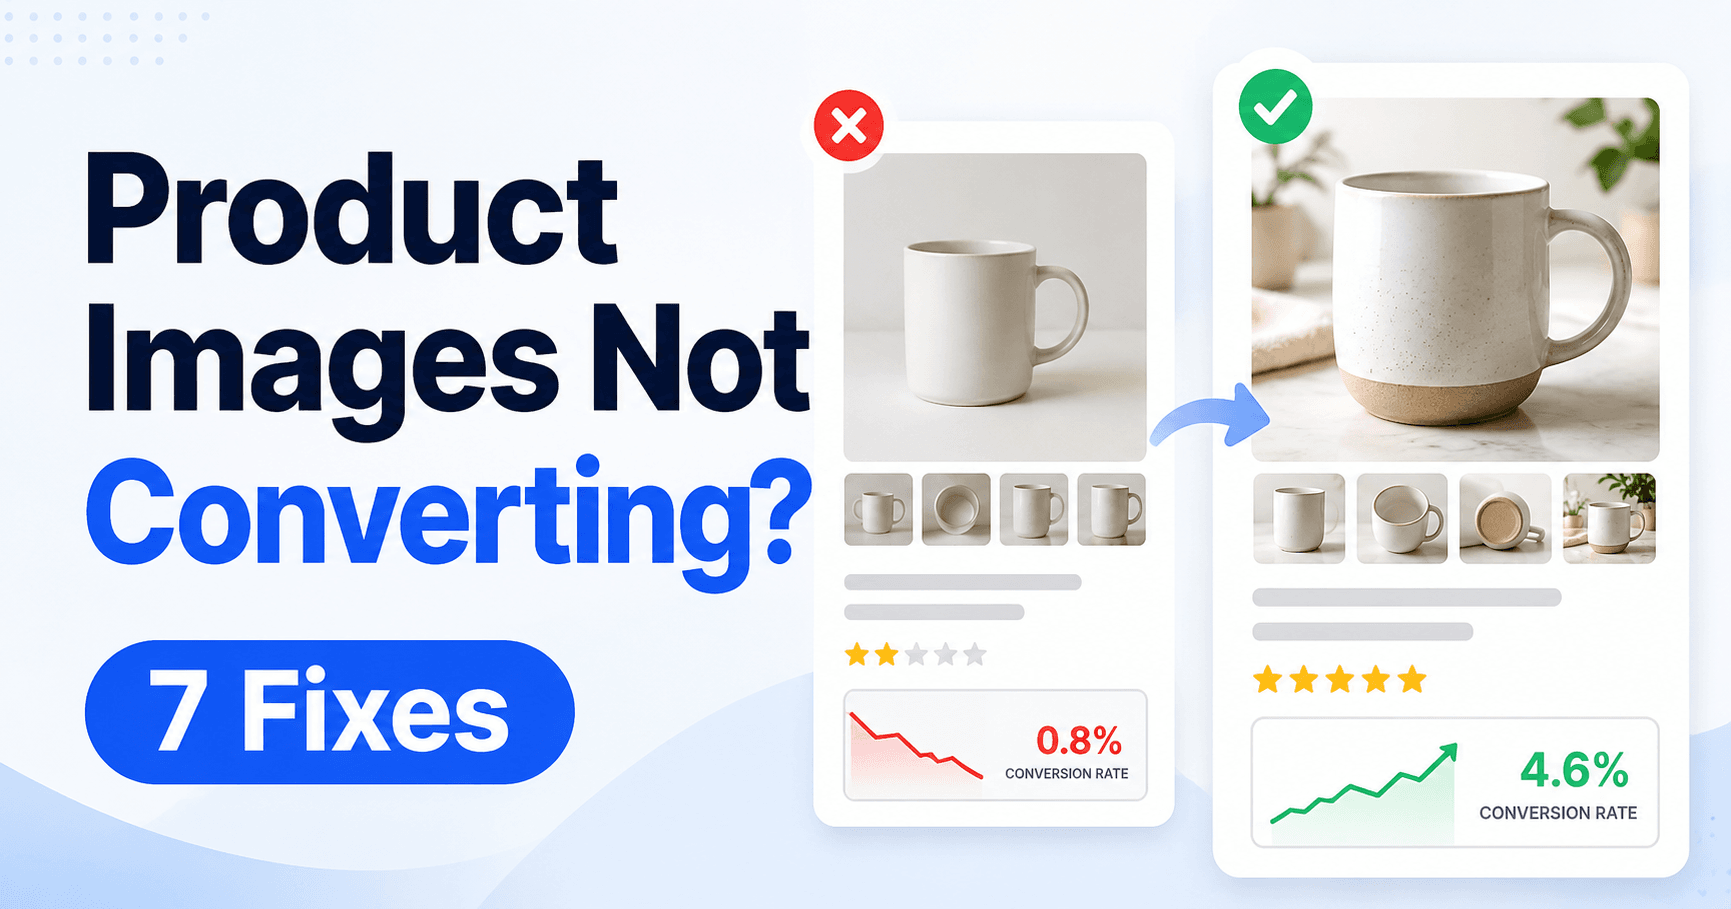
A product image not converting usually means shoppers are seeing the listing but the images are not giving them enough confidence to click, understand the product, or complete the purchase.
The main image may be too weak, the product may look smaller than competitors, important details may be missing, or the image sequence may fail to answer the buyer’s questions.
QUICK ANSWER
To improve product image conversion, make the product larger and clearer in the main image, show the actual quantity and scale, add close-up detail shots, explain key benefits visually, show the product in use, create a logical image sequence, and compare your listing against the strongest competitors before publishing.
Why Product Images Affect Conversion
Online shoppers cannot physically touch the product before buying.
Images have to answer questions such as:
- What exactly will I receive?
- How big is it?
- What does the material look like?
- How is it used?
- What makes it different?
- Can I trust the quality?
If the images leave too many unanswered questions, shoppers may move to another listing even when the price is competitive.
Important:
More images are not automatically better. The goal is to make each image answer a specific buying question.
1. Make the Main Product Image Immediately Clear
The main image has one job:
Make the shopper understand the product instantly.
Check whether:
- The product fills enough of the frame
- The product is sharp
- The background is clean
- The color is accurate
- The product is not partially hidden
- The image follows marketplace rules
If your product appears much smaller than competing listings, shoppers may ignore it even when the product itself is good.
Tip:
Search the main keyword for your product and compare your thumbnail side by side with the first-page competitors.
2. Show the Exact Quantity and Scale
One of the biggest causes of disappointment is a mismatch between what the buyer imagined and what actually arrives.
Show:
- Number of units
- Package size
- Product dimensions
- Weight when relevant
- Scale compared with a familiar object
If a listing sells a 3-pack, the image should make the quantity easy to understand.
If the product is unusually small or large, give visual scale instead of forcing the buyer to guess from text alone.
Warning:
Do not show extra accessories, props, or quantities in a way that makes shoppers think they are included when they are not.
3. Add Close-Up Detail Images
Detail shots help buyers evaluate quality.
Useful close-ups may show:
- Texture
- Stitching
- Buttons
- Zippers
- Connectors
- Materials
- Finish quality
- Labels
These images are especially important when the product’s value comes from build quality or materials.
Useful clue:
If the product description repeatedly explains details that shoppers cannot see in any image, add a close-up.
4. Turn Key Benefits Into Visual Proof
Do not only tell shoppers that the product is:
- Durable
- Water-resistant
- Compact
- Easy to store
- Large capacity
- Simple to use
Show those benefits visually.
For example:
- Show the storage size
- Show how much the container holds
- Show the folding process
- Show the key feature in use
- Show the before-and-after result
Visual evidence is easier to understand than long marketing copy.
Conversion Tip:
Use short, factual text overlays only when they help shoppers understand something the photograph cannot explain by itself.
5. Show the Product in Real Use
Lifestyle images help buyers imagine owning the product.
Show:
- The product being held
- The product being worn
- The product in a room
- The product being used outdoors
- The product beside compatible items
The environment should match the real use case.
A kitchen product should look natural in a kitchen.
An outdoor product should be shown in a realistic outdoor situation.
Warning:
Lifestyle images should support the product, not hide it. The shopper still needs to understand exactly what is being sold.
6. Build the Images in a Logical Order
Your image gallery should tell a simple story.
A useful sequence is:
1. Main product → 2. Quantity and size → 3. Key feature → 4. Detail → 5. Product in use → 6. Comparison or buying information
This order moves from recognition to confidence.
Do not place six almost identical front-view photos in a row.
Simple rule:
Every image should have a different job. If two images communicate the same thing, replace one with information the buyer is still missing.
7. Compare Your Images With Top Competitors
Open the marketplace search results for your main keyword.
Review the strongest listings and ask:
- Is their product larger in the main image?
- Do they explain size more clearly?
- Do they use better lifestyle shots?
- Do they show more detail?
- Do they answer buyer questions earlier?
Do not copy their images.
Instead, identify what information their listings communicate better than yours.
Then improve your own visual presentation.
Recommended approach:
Judge product images by buyer clarity, not by how artistic they look. The best image set makes the purchase easier to understand and trust.
Views but No Sales: Are the Images the Problem?
If your listing receives many views but few purchases, images are one possible cause.
Also check:
- Price
- Reviews
- Delivery speed
- Product description
- Seller trust
- Return policy
Images are part of the conversion system, not the only factor.
Common Product Image Mistakes
- Product too small in the frame
- Blurry images
- Confusing quantity
- No size reference
- No detail shots
- Too many repeated angles
- Misleading props or accessories
- Text that is too small to read
Frequently Asked Questions
How many product images should I use?
Use enough images to answer the buyer’s main questions. There is no universal perfect number.
Should product images include text?
Secondary images can use short explanatory text when marketplace rules allow it, but the text should support the visual rather than replace it.
Can better product images increase sales?
Yes. Clearer images can improve click-through and buyer confidence, although pricing, reviews, shipping, and demand also affect conversion.
Should every image show the product from a different angle?
No. Include different angles only when they provide useful information. Size, detail, use cases, and features can be more valuable than another similar angle.
Should I copy competitor image styles?
No. Study what information successful listings communicate, then create original images that explain your own product clearly.
Final Image Checklist
- ✓ Make the main image clear
- ✓ Show quantity and scale
- ✓ Add useful detail shots
- ✓ Visualize important benefits
- ✓ Show real-world use
- ✓ Give every image a different purpose
- ✓ Compare against strong competitors
Bottom line:
Product images convert better when they remove uncertainty. Make the product immediately recognizable, show quantity and scale, prove important features, add useful detail and lifestyle shots, and build the image sequence around the questions a buyer needs answered before purchasing.